Glass skin isn’t a makeup look. It’s what happens when a skincare routine is working correctly — skin so hydrated and healthy that it looks translucent, reflective, and almost wet without anything on it.
The Korean approach to getting there is layering: stacking thin, hydrating products in sequence so each layer absorbs completely before the next one goes on. No single product creates glass skin. The effect comes from the cumulative result of five to seven steps done consistently.
This guide breaks down the full routine — what each step does, which products to use, and what it’ll cost — so you can build it from scratch or figure out what’s missing from what you’re already doing.
Before you start, it helps to know what the main ingredients actually do. If terms like niacinamide, ceramide, or snail mucin are unfamiliar, the K-Beauty Ingredients Glossary covers all of them plainly.
The 7-Step Glass Skin Routine
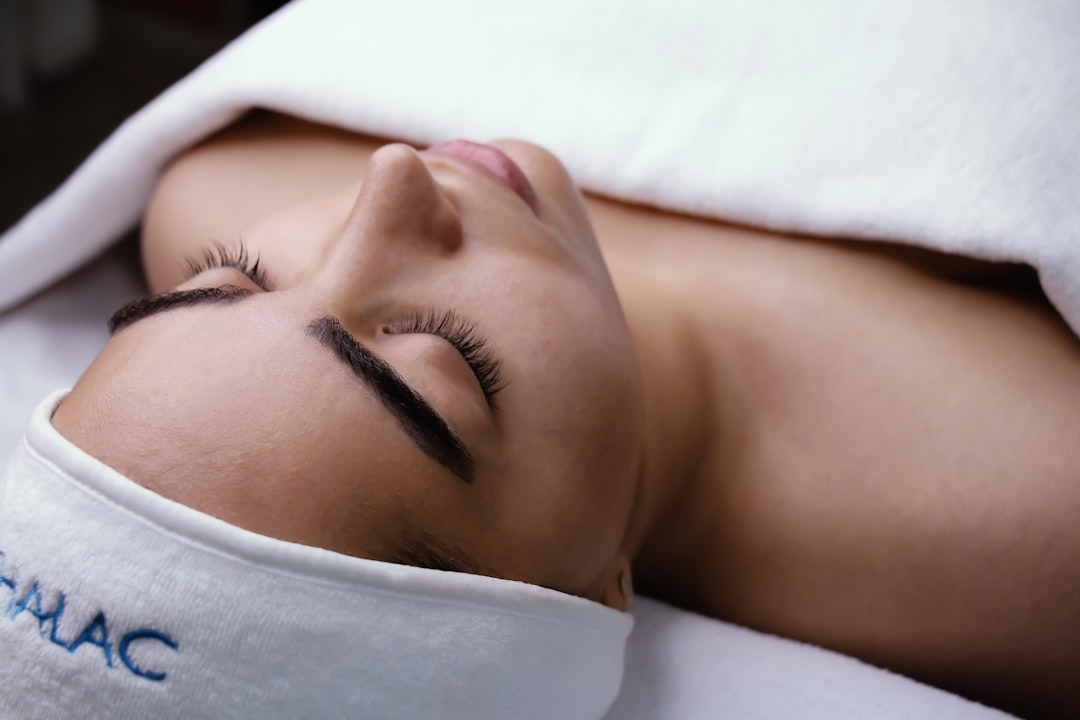
Step 1 — Oil Cleanser (PM only)
What it does: Dissolves sunscreen, makeup, and excess sebum. Water-based cleansers can’t fully remove oil-based products — that’s the whole reason double cleansing exists.
How to use: Massage onto dry skin for 60 seconds, then emulsify with a little water before rinsing.
Product note: The brand matters less here than the habit. Any gentle, fragrance-free cleansing oil or balm works. Look for one that rinses clean without leaving a greasy film.
Step 2 — Water-Based Cleanser
What it does: Removes anything the oil cleanser loosened — sweat, residue, remaining impurities. In the AM, this is your only cleanse.
How to use: Work into a lather, apply to damp skin, rinse thoroughly. The low pH version is important — it keeps the skin’s acid mantle intact rather than stripping it.
YesStyleBuy COSRX Low pH Good Morning Gel Cleanser on YesStyle
~$12 →Step 3 — Exfoliant (2–3x per week, not daily)
What it does: Removes the layer of dead skin cells sitting on the surface. This is what makes everything you apply afterward absorb faster and work better. Glass skin requires smooth surface texture — exfoliation is non-negotiable.
Frequency warning: More is not better. Over-exfoliating damages the skin barrier and causes the opposite of glass skin. Two to three times per week is the ceiling.
How to use: Apply after cleansing on exfoliation nights, before toner. Leave on for the time indicated, then continue the routine.
YesStyleBuy Some By Mi AHA·BHA·PHA 30 Days Miracle Toner on YesStyle
~$18 →Step 4 — Toner / First Essence
What it does: The first hydration layer. Korean toners are not the astringent, alcohol-heavy products from Western skincare — they’re lightweight, watery, and designed to start the hydration layering process.
How to use: Pat (don’t rub) into skin immediately after cleansing while skin is still slightly damp. This is the step most people skip and shouldn’t.
Product note: Klairs Supple Preparation Toner and Pyunkang Yul Essence Toner are two consistently reliable options in this category. Either works as a starting point — the specific brand is less important than adding this step.
Step 5 — Serum / Essence
What it does: Delivers the active ingredients that actually change skin over time — hydration, repair, brightening. This is the workhorse step.
How to use: A few drops or a pump, patted in gently. Allow to absorb before the next step.
The snail mucin essence is the standard recommendation for glass skin specifically because it handles hydration and repair simultaneously — two of the three things glass skin requires.
YesStyleBuy COSRX Advanced Snail 96 Mucin Power Essence on YesStyle
~$25 →Step 6 — Moisturizer
What it does: Seals everything in. Without a moisturizer, the hydration from the previous steps evaporates. The glass skin effect requires this layer — it’s what gives skin its surface quality.
AM: A lighter cream or gel moisturizer works. The ceramide cream is appropriate for most skin types and focuses on barrier repair.
YesStyleBuy COSRX Balancium Comfort Ceramide Cream on YesStyle
~$22 →PM: This is where glass skin differs most from a standard routine. The Laneige Water Sleeping Mask replaces your regular night moisturizer and delivers an intensive hydration layer while you sleep. The cumulative effect of consistent overnight use is what produces the glass skin texture over weeks.
YesStyleBuy Laneige Water Sleeping Mask on YesStyle
~$28 →Step 7 — Sunscreen (AM only)
What it does: Protects everything you just applied and prevents the UV damage that undoes hydration work over time. Also — a well-formulated Korean sunscreen adds a natural luminosity that’s the finishing touch of the glass skin look.
Formula matters here: Chemical filters (the kind in most Korean SPFs) sit invisibly on skin. Physical filters can leave a white cast that dulls the glass effect. For glass skin specifically, a chemical or hybrid formula is the better choice.
For a full comparison of Korean vs. Western sunscreen formulas, see: Korean Sunscreen vs Western Sunscreen.
YesStyleBuy Beauty of Joseon Relief Sun on YesStyle
~$14 →Two Ways to Build This Routine
Not everyone wants to start with all seven steps at once. Here’s how to approach it by budget.
Entry Version (~$50)
Start with the four products that do the most work:
| Step | Product | Price (approx.) |
|---|---|---|
| Cleanser | COSRX Low pH Cleanser | ~$12 |
| Serum | Skin1004 Centella Ampoule | ~$16 |
| Moisturizer | COSRX Ceramide Cream | ~$22 |
| Sunscreen | Beauty of Joseon Relief Sun | ~$14 |
Buy Skin1004 Madagascar Centella Ampoule on YesStyle
~$16 →This version won’t produce glass skin in two weeks, but it builds the habit and the barrier. Add the sleeping mask and toner once you’re comfortable with the routine.
Full Version (~$120)
All seven steps as listed above. The full routine is what produces visible glass skin results within four to six weeks of consistent use. The sleeping mask and the snail essence are the two products that most distinguish this from a basic skincare routine.
Three Things That Make or Break Glass Skin
1. Layering technique Apply each product in thin, even layers. Wait for each layer to absorb before applying the next — 30 to 60 seconds is usually enough. Rushing this step reduces absorption and reduces results.
2. Water over oil Glass skin is a hydration look, not an oil look. Heavy facial oils applied on top can create a greasy finish rather than a reflective one. If you use facial oil, apply it as the last step in very small amounts, or skip it entirely until you see how your skin responds.
3. Sunscreen choice This one gets overlooked. A physical (mineral) sunscreen with zinc oxide leaves a white cast that mutes the glass skin effect. For the full luminous finish, choose a chemical or hybrid Korean SPF — they absorb clear and enhance the dewy look rather than dulling it.
- K-Beauty Beginner’s Guide 2026 — Start here if this is your first K-beauty routine
- K-Beauty Ingredients Glossary — Understand what each ingredient does before you buy
- Buying K-Beauty in Korea vs Online — Which of these products are worth buying in Seoul vs. ordering online